Ombre has been in fashion for the hair….How about for your walls!
Here is how to achieve that look on your Walls:
Goodbye…old fashioned 1 colour feature walls…
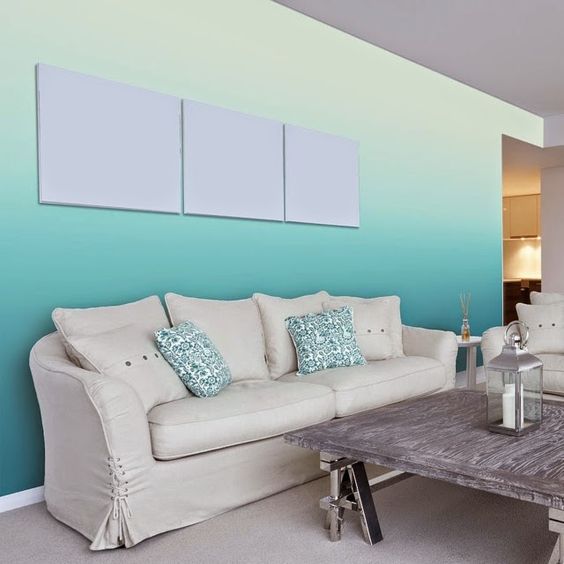
Ombre is a blending of colours to create a fading effect. When talking interior paints, it’s basically blending 2 or more colours on a wall. The ombre look starts with the lightest colour at the top, which blends into the medium value colour, which blends into the darkest hue at the bottom of the wall. It’s like horizontal stripes, but without the hard lines.
Ombre is best applied on a single accent wall. Colours that have less contrast blend more easily and create the best results.
Here’s how to do it: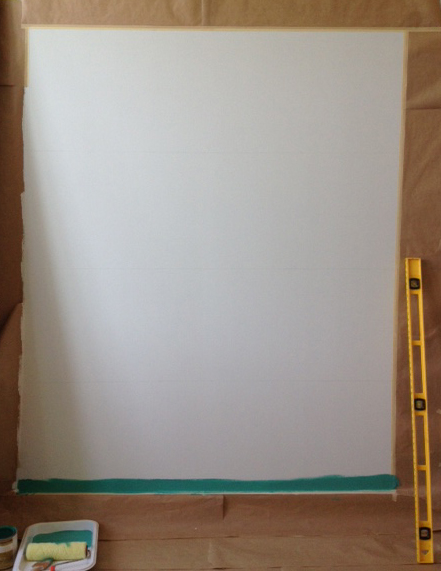
1. Tape off area to ombre.
2. With a level and pencil, draw a line where you want the colours to fade into each other. You will be creating wide, horizontal stripes.
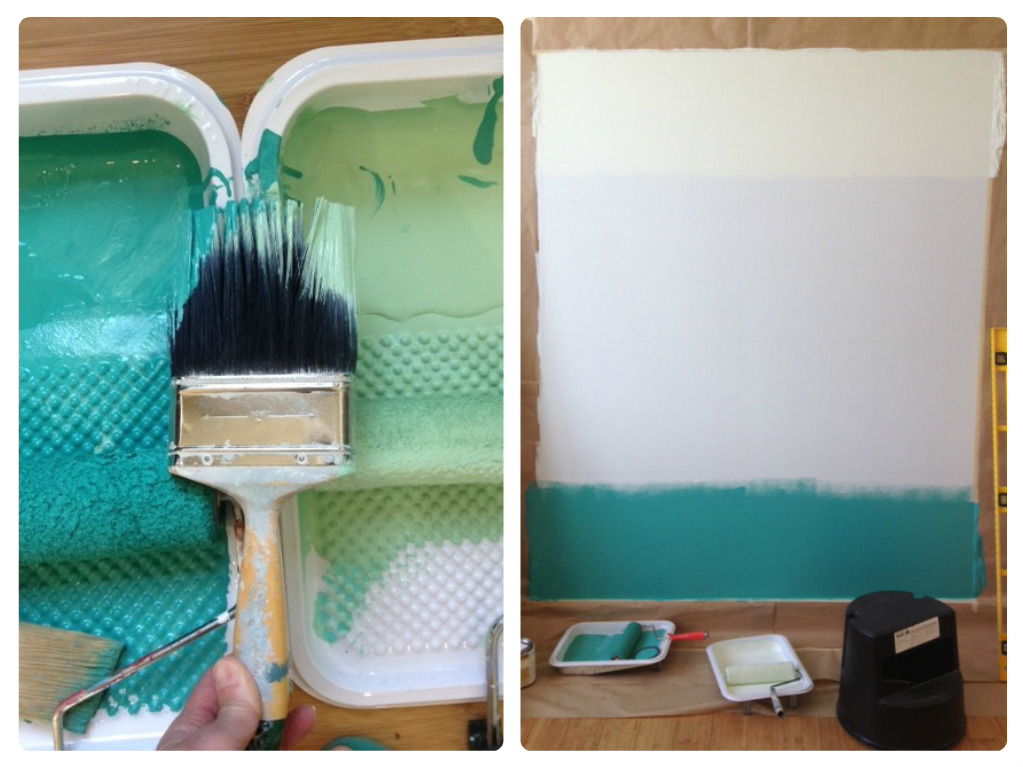
3. Roll out colours, stopping 7cm’s on each side of the level line, leaving 15cm between the two colours.
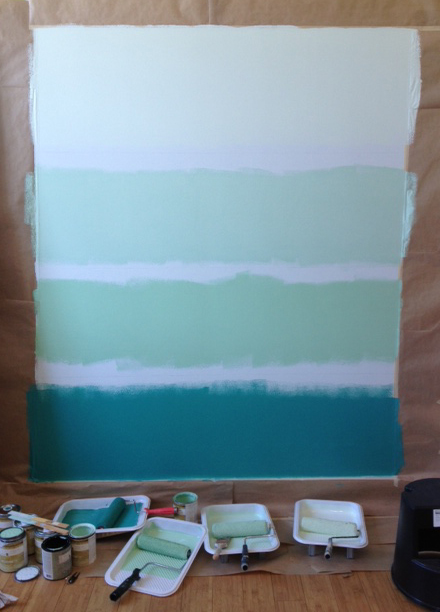
4. To create the blended effect, dip 10cm brush – half in one colour and half in the 2nd colour of the stripes you want to connect.

5. Brush back and forth blending the two colours – brush quickly, as paint dries fast!
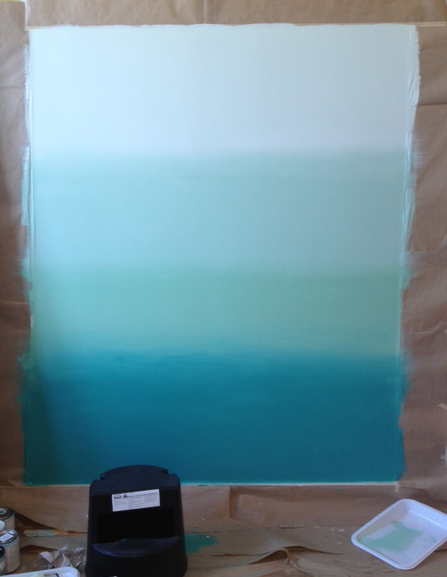
6. Repeat for every 2 colours you want to blend.
7. Finishing touches! You may need to go back with a clean brush to touch up on either side of the blended area for any paint that got underneath the tape.
Tips:
Works best in 12cm sections at a time.
Use similar colours overall for easiest blending
Use colours with low contrast next to each other
And most importantly….Have fun!


