Have you heard of “Popcorn Ceilings“?
Well they are very common in older homes especially here in Toowoomba where houses can be over 100 years old!
*If you live in a house more than 15 years old, chances are you have popcorn ceilings—which went out of style as soon as they started🤭. It can be a lot of hard work to get rid of this affect on our ceilings and may even be hazardous, but if you’re renovating your home, it’s a necessity*
Follow this DIY guide to removing your popcorn ceilings, or call Paintway Toowoomba to get those ceilings sorted out for you.
Equipment You will Need
Most paint jobs require quite a bit of equipment, and this is no exception. If you’re a big fan of DIY, then you most likely have some of these items already at Home.
Plastic Sheeting
Fine Sandpaper
Painter’s Tape
Old Rags
Putty Knife
Pump up Sprayer
Floor Scraper
Dishwashing Liquid Soap
Gap Filler
Protective Equipment (Gloves,Glasses)
Preparation:
Removing your popcorn ceiling can be a messy job, so proper preparation tactics are important in order to refrain from damaging your walls or floor.
1. Cover up or remove all furniture from the room.
2. Cover up any vents with plastic.
3. Cover wall outlets and switches with plastic, sealing them with painter’s tape
4. Cover the floor with plastic, going up the wall about a foot and sealing with painter’s tape.
5. Lastly, line the edge of the ceiling with painter’s tape.
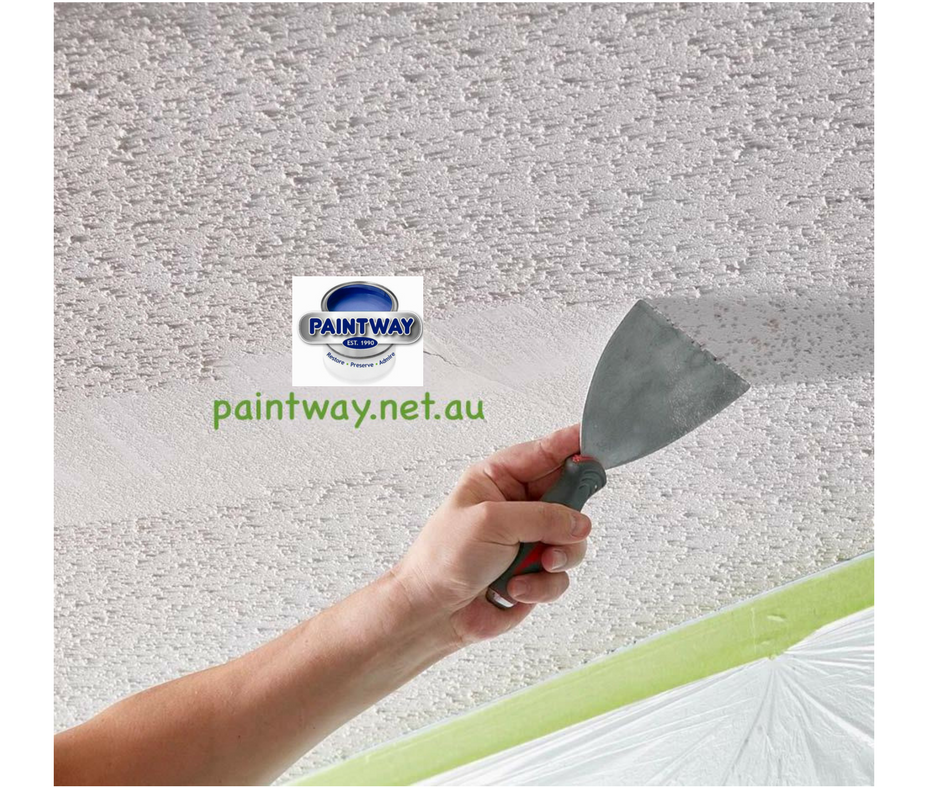
Taking it down
Actually scraping the texture off the ceiling is the hard part; be sure to wear protective equipment and don’t do anything if you think your ceiling might have asbestos. (If this is the case you need to get the ceilings professionally done for you, its the law)
1. If the ceiling isn’t painted, fill a pump sprayer with warm water, adding 2-3 tablespoons of dish soap per litre of water.
2. Heavily spray a 4-6 foot square section of the ceiling with the solution; wet enough to loosen it, but not so wet that it sinks into the plaster underneath.
3. Let it soak for 10-15 minutes.
4. Use a floor scraper, or similar wide blade tool, to gently scrape away the popcorn texture. Make sure not to tear the plaster below the texture.
5. If the texture is more difficult to remove, spray it again, let it soak, and try scraping again.
6. Use a putty knife to scrape away any residue and get into the corners.
Finishing Touches
No job is perfect, so you’ll probably need to do some repair and finishing touches after the texture has been removed.
1. Replace damaged plaster tape and smooth out the joints with joint compound.
2. Once the repair work has dried, sand the ceiling with a long handled sanding pad. Only sand the spots that are uneven, because too much sanding can damage the ceiling.
3. The final touch is to prime and paint the ceiling, and admire your hard work!
Home improvement or repair jobs can be messy or even dangerous, so sometimes the best option is to hire a professional. If your home shows signs of any of the following, give Paintway Toowoomba a call to get the job done safely.
Asbestos: in home built before 1980, the ceilings and walls may contain asbestos and should be tested before removed. Although it doesn’t pose a health risk if left untouched, removing texture that contains asbestos can cause the asbestos fibres can be breathed in and they fill your lungs!⛔️
Painted Ceiling: another potential problem is ceilings that are already painted. This prevents the popcorn texture from soaking up the water solution that is needed to remove it. Typically, a harsh chemical solution is required to breakdown the paint barrier and begin removing the texture underneath.